Every post comes from something I've done on a real project. AI tools, development approaches, how I actually build things. You're getting a curation of my taste, not takes on stuff I don't use. Subscribers also get extras: things that went wrong, how my thinking about AI is changing, hacky workflows I use every day, and the occasional personal update. Stuff I share with subscribers because it's a little too personal or unpolished to blast across the internet.
RLM, late interaction, and Pi, oh my
|
Last week I shared my knowledge base tool, agentkb. This week I am OSSing my pi harness that uses it, Harpy. The most interesting part of the harness is that knowledge base <-> harness integration so that's what this week post dives into. It covers what RLM is, how it drives a python loop with state, how Pi (typscript) extension talks to python, and how that allows for smart delegation and fan-out to smaller models to give more accurate search results. How My RLM Tool WorksAn LLM writes Python code to do research. An LLM writes code. That loop is a Recursive Language Model (RLM). The rest of this post unpacks that loop. Pi is an agent harness like Claude Code. What a REPL isREPL stands for read-eval-print loop.
Three things happen on every line:
The important word is namespace. The read-eval core fits in four lines:
That's the heart of the REPL host. A real REPL also auto-prints whatever expression is on the last line. The RLM TrickThe LLM is the one writing code into the REPL. The LLM answers a question by writing Python. "Hmm, let's break this down in my REPL. I need to know what 5*5 is first"
“I also need to know what 10*10 is":
"Great, I have all I need to answer the question. Let’s add them up":
"Isaac, the answer is 125". The namespace has a few extra things in it before the LLM starts, like:
Here's what a typical LLM turn looks like in real text:
The LLM emits prose plus a fenced code block. High-Level ArchitectureA quick vocabulary note first. Three pieces talk to each other:
The user question is a string from your agent. The Pi extension is the tool Pi can call. The Python REPL subprocess is one Python process per One Turn of the LoopThe extension calls the LLM with the running chat history.
The LLM responds with prose and a fenced Python code block. The extension pulls the code out. The extension appends that to the next message. What's in the NamespaceThe extension does two things to set up the REPL. 1. Loads the context. The LLM sees a description of the variable in the system prompt. 2. Installs the builtins. functionwhat it does Plus the entire Python standard library like The RLM is given another pattern called chunking.
How the Pi Extension Talks to PythonWhen the LLM writes Here's what It sends the call to the extension via RPC (remote procedure call).
It just gives arguments to the extension and returns what comes back.
One implementation.
Budget, logging, and limits live in one place. But timing is tricky. The extension sends a block of code for Python, and Python sends back the result when the whole block is done. So there are two channels.
Recursion: What
|


 |
Budget is shared across the tree.
A max_budget variable tracks total LM spend across all depths and parallel siblings.
If the budget is reached the investigation ends.
Children get whatever the parent has left.
Models can differ by depth.
The investigator (depth 0) runs on the smarter model.
By default that’s GPT 5.4.
Children at depth ≥ 1 and all llm_query calls run on the analyst model.
By default that's GPT 5.4 mini.
Fan-out work doesn't need the big model.
Putting It All Together
Here's the full picture of one rlm_query call.
 |
In parallel a logger appends one NDJSON line per event to a log file.
Exploring a Run in Jupyter
Every RLM call writes NDJSON to a log file while it runs.
One line per event:
Turn starts, assistant prose, code blocks, stdouts, RPC calls, final answers.
When the loop finishes a converter turns that log into a Jupyter notebook.
Every run leaves behind a .ndjson and a .ipynb.
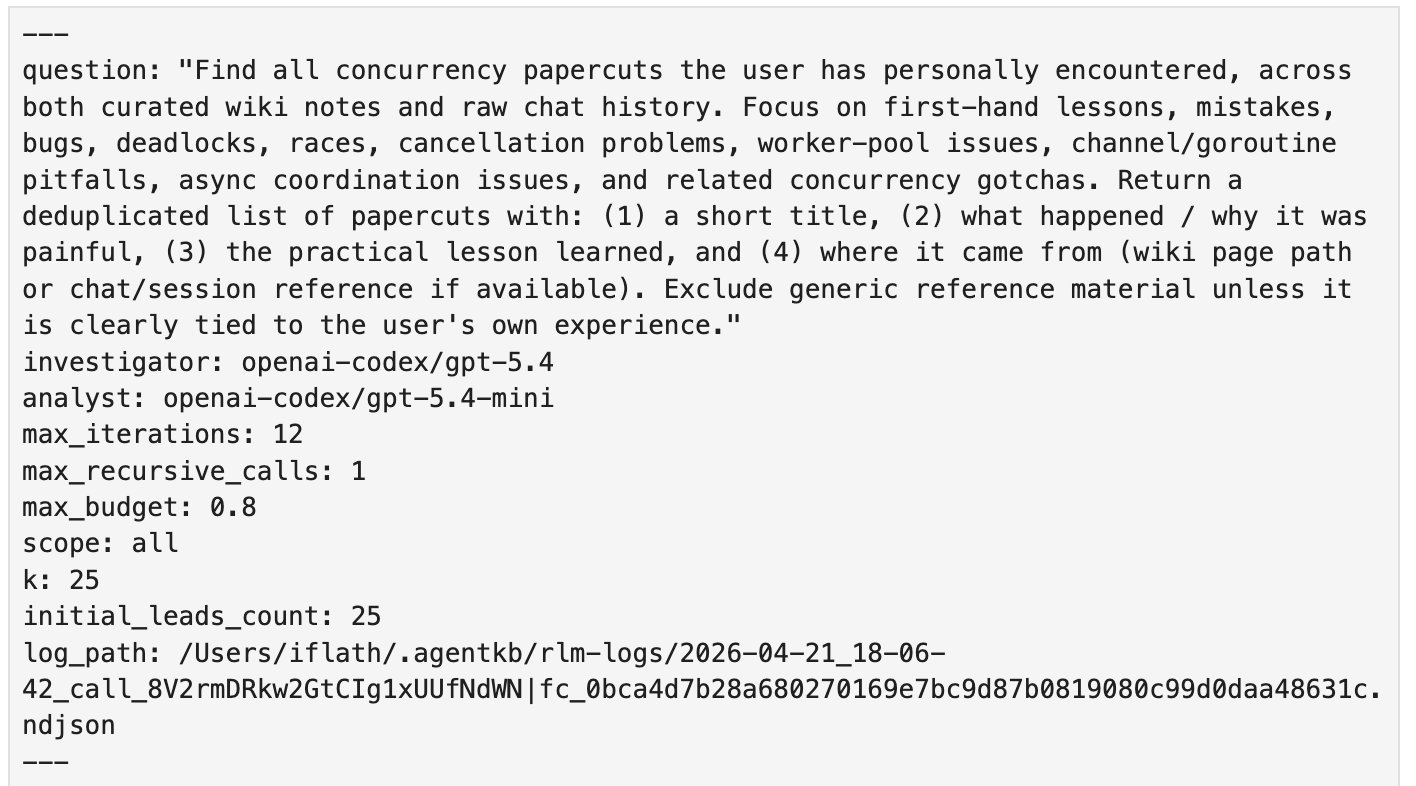
The front-matter cell records the question, the models, the budget, and the log path.
 |
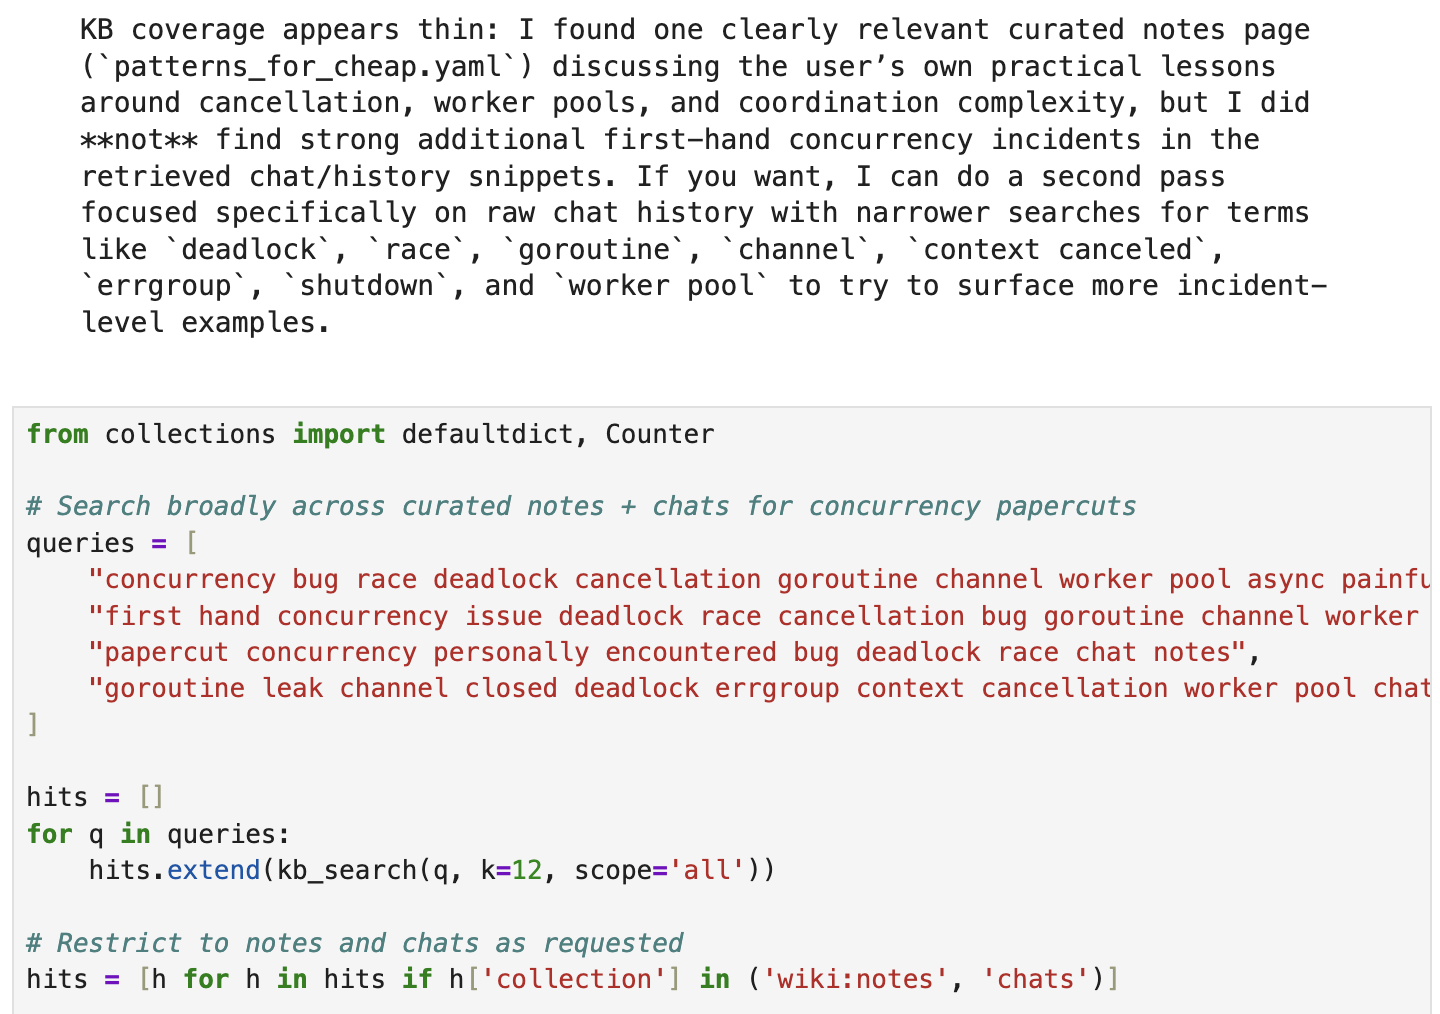
Below that the notebook reads as a timeline.
Each investigator turn becomes a markdown cell with the prose followed by a code cell with the Python block and its result attached.
Child investigations are inlined in order.
 |
The first cell is a bootstrap that launches a local rlm-server subprocess and installs the same kb_search, kb_read, llm_query, rlm_query, and FINAL shims the live run used.
It preloads the same context variable from the original leads.
The namespace in the notebook is what the investigator had.
That makes the notebook live, not a replay.
If you change things and run the code you get the result of the “what if”.
What does this let you do?
Prototype. Define new helpers like kb_grep or a kb_summarize and use it the way the investigator would.
Eval. Code by hand what the investigator should have done, then compare it to what it did.
Improve. Take what you learn from the comparison and change the system prompt, builtins, or initial context.
This means the traces are live experiments, not logs.
Why This Shape Works
Most tool calls are flat.
The model emits a tool call, you run it, you give it the result, repeat.
Each step is independent.
RLM's shape works for three reasons.
Richer shell.
Coding agents already do search.
They run grep, find, ripgrep.
The model reads stdout and decides what to run next.
RLM is the same idea with a more powerful shell.
Python instead of bash.
Functions instead of static binaries.
The namespace persists across turns so a search result becomes a variable you can sort, slice, fan out over, and feed back to the next search.
Less noise in the main context.
A normal agent searches by emitting tool calls into its own context.
Every hit, every page, every false lead fills the window.
The model writing your code is the same model wading through search noise.
RLM moves all of that into a separate process with a separate LLM.
The investigator can pull 50 hits, read 30 pages, throw 28 of them out, and the main agent never sees the 28.
Three good ideas stacked.
An agentic loop.
A dynamic programming language with persistent state.
Semantic search (late interaction retrieval models keep crushing benchmarks).
Each is powerful alone.
Stacking lets them handle filter, fan-out, and synthesis better.
The full original paper is at arxiv:2512.24601 (Zhang, Kraska, Khattab, MIT OASYS).
My implementation is different in places. Pipes for IPC instead of TCP. No sandboxed Python process.
But all the core ideas are theirs.
Context as a Python variable, LLM as the programmer, REPL as the runtime.
---
p.s. If you were forwarded this email, you can read all my articles on my website or subscribe to get them in your inbox.
Isaac Flath
Every post comes from something I've done on a real project. AI tools, development approaches, how I actually build things. You're getting a curation of my taste, not takes on stuff I don't use. Subscribers also get extras: things that went wrong, how my thinking about AI is changing, hacky workflows I use every day, and the occasional personal update. Stuff I share with subscribers because it's a little too personal or unpolished to blast across the internet.
Hey this is Isaac, Hamel Husain and I are doing a free public talk on why better RAG starts with late interaction. Most RAG still follows the "embed the chunks, embed the query, compare the vectors” approach. But top retrieval architectures follow a new approach. People do not upgrade because it requires a different setup and they think it’s only an incremental improvement. Companies like Nvidia, AWS, and Cursor have adopted it because it’s a big step up. It’s not just benchmark games. A...
Hey this is Isaac, Here are a couple demos of things I thought were cool. Then an update on a new project i'm working on with Hamel Husain. First, I’ve been working on Raw2Draft (my writing tool). I just added D3 diagrams to markdown and html text editing and I use one or the other most working hours. D3 is a low level visualization library that gives maximum flexibility but is very painful to write. But agents write D3 surprisingly well and it's amazing for adding visuals to help with...
Hey this is Isaac, Hamel Husain and I are doing a free public talk on tool architecture anti-patterns for agents: MCP, skills, CLIs, plugins, and custom tools. Some of the most popular and widely used skills, CLIs, and mcp’s fall into one of these anti-patterns. Is MCP good? Are skills enough? Should this be a CLI? That is the wrong starting point. A tool call is a product surface and should be created with the same care given to any other user facing page. When it’s treated like plumbing to...